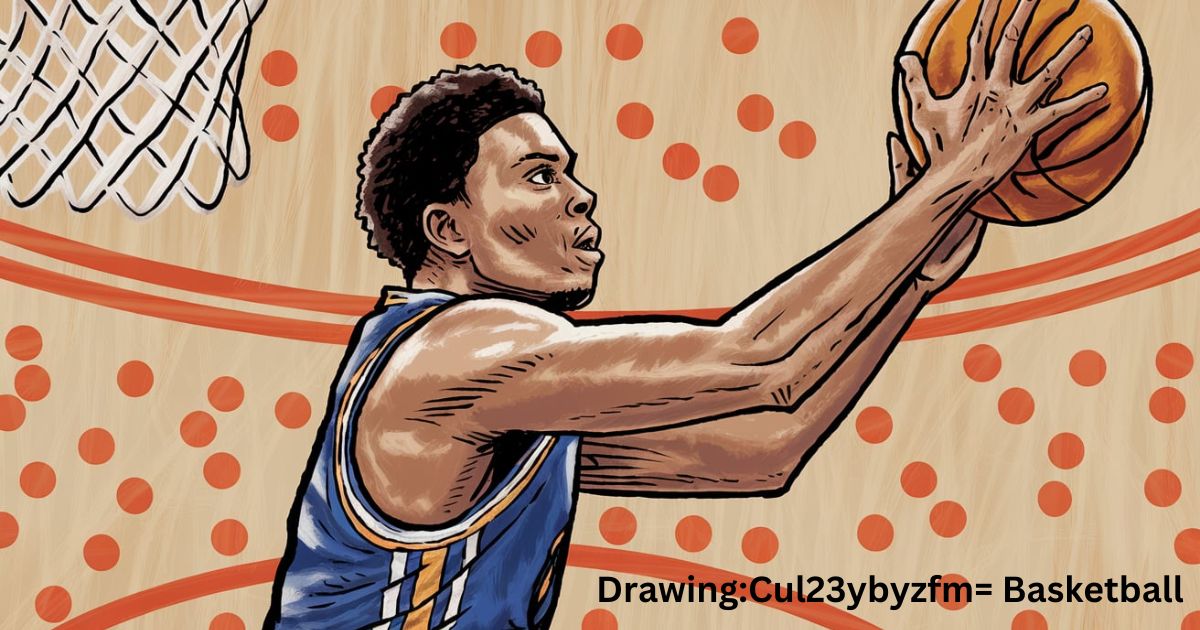
Are you ready to slam dunk your way into the world of basketball art? Whether you’re a seasoned artist or just starting out, this guide will help you master the art of drawing:Cul23ybyzfm= basketball. We’ll cover everything from the basics to advanced techniques, so grab your pencils and let’s get bouncing!
Understanding the Sport
Before we start sketching, let’s get our heads in the game. Basketball isn’t just about throwing a ball through a hoop – it’s a dance of strategy, athleticism, and pure passion. Understanding the sport will help you capture its essence in your artwork.
Basic Basketball Facts
Did you know that basketball was invented by a Canadian? Yep, Dr. James Naismith cooked up this sport back in 1891. Here are some quick facts to get your creative juices flowing:
- A regulation basketball court is 94 feet long and 50 feet wide
- The hoop is 10 feet high (imagine drawing that to scale!)
- An NBA game lasts 48 minutes, split into four 12-minute quarters
- The average NBA player runs about 2.5 miles per game
- A standard basketball is 9.55 inches in diameter
These facts can inspire your basketball-themed drawings and help you add authentic details to your artwork. For instance, knowing the exact size of a basketball can help you maintain proper proportions in your drawings.
Why Focus on Basketball Drawing?
You might be wondering, “Why basketball? Why not football or chess?” Well, let me tell you, drawing:Cul23ybyzfm= basketball offers unique challenges and rewards that can take your artistic skills to the next level.
What Makes Basketball Drawing Unique?
Basketball drawing is like capturing lightning in a bottle. You’re not just sketching a still object – you’re freezing moments of intense action, emotion, and energy. The spherical shape of the ball itself is a great exercise in perspective and shading. It’s like art and geometry had a baby, and that baby can dunk!
Plus, basketball art allows you to explore:
- Dynamic poses and movements
- Intricate textures (think about the ball’s pebbled surface or the sheen of jerseys)
- Emotional intensity of players and fans
- Varied perspectives, from close-ups of hands gripping the ball to wide shots of the entire court
The versatility of basketball as a subject matter makes it an excellent choice for artists looking to challenge themselves and expand their skills.
The Basics of Basketball Drawing
Let’s start with the fundamentals. Don’t worry, we’ll work our way up to those gravity-defying slam dunks!
Understanding the Shape
A basketball isn’t just a circle – it’s a sphere. And drawing spheres can be tricky. But fear not! Here’s a quick tip: start by drawing a circle, then add curved lines to suggest the roundness. Remember, the lines on the sides of the ball will curve more sharply than those in the center.
Try this exercise: Draw several circles of different sizes, then practice turning each one into a sphere. This will help you understand how light and shadow work on a curved surface.
Shading and Perspective in Basketball Drawing
This is where the magic happens. Good shading can make your basketball look so real, people might try to pick it up off the paper! Start with light shading all over, then gradually darken the edges to create depth. Don’t forget to leave a small highlight where the light hits the ball directly.
For perspective, remember that a basketball will appear more oval-shaped when viewed from an angle. Practice drawing basketballs from different viewpoints to get comfortable with how the shape changes.
Materials Needed for Basketball Drawings
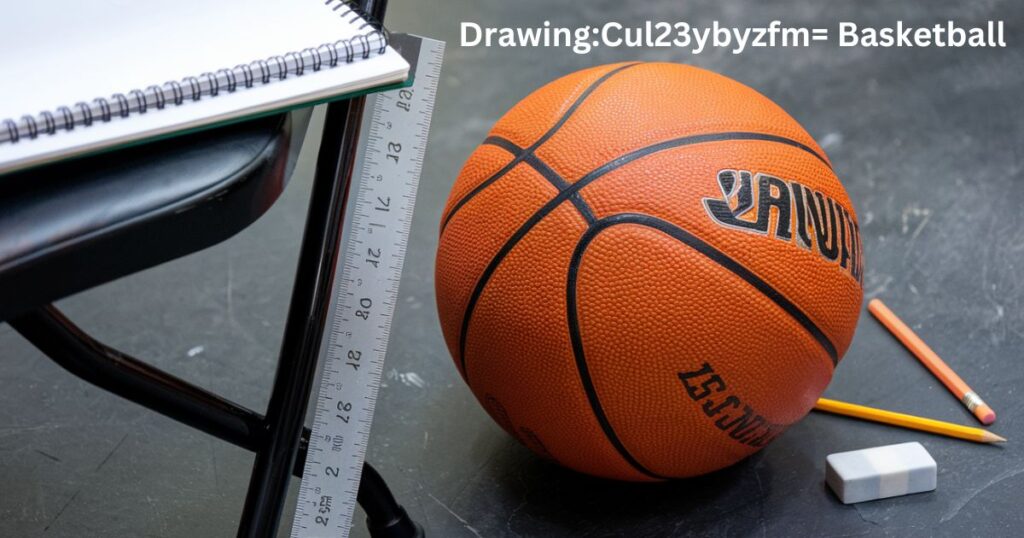
You don’t need to break the bank to start drawing:Cul23ybyzfm= basketball. Here’s what you’ll need:
Drawing Tools You Need
- Pencils: Get yourself a set of graphite pencils. HB for sketching, 2B or 4B for shading. It’s like having different players for different positions!
- Paper: Smooth basketball sketchbook paper works best. Think of it as your court – the smoother it is, the better your game will be.
- Erasers: Mistakes happen. A good eraser is like a timeout – it gives you a chance to regroup and try again.
Optional Tools
- Blending stumps: Great for smoothing out shading
- Drawing pens: For crisp outlines and details
- Colored pencils: To add a pop of color to your work
These are like your bench players. Nice to have, but not essential when you’re starting out.
Also Read: sus:xanc9oskqog= Among Us- A Deep Dive Into the Viral Gaming Phenomenon
Step-by-Step Guide to Basketball Drawing
Alright, grab your pencil. It’s game time! Here’s how to create a basic basketball drawing:
- Step 1: Lightly Sketch a Circle Start with a light touch. You’re not carving the ball, you’re suggesting its shape. Use an HB pencil for this step.
- Step 2: Adjust for Perspective Unless you’re drawing the ball head-on, you’ll need to adjust the circle to an oval. It’s all about the angle! Remember, the more extreme the angle, the more oval-like your ball will appear.
- Step 3: Add Shadows and Highlights This is where your ball starts to pop off the page. Think about where the light’s coming from. The side facing the light source will be brightest, while the opposite side will be in shadow. Use a softer pencil (like 2B) for shading.
- Step 4: Include the Valve Don’t forget this little detail! It’s like the ball’s belly button. The valve is usually a small oval shape on one side of the ball.
- Step 5: Sketch the Seams The seams are the ball’s signature. Get these right, and everyone will know what you’re drawing. Basketballs typically have eight seams that create a pattern of eight curved sections.
- Step 6: Refine the Details Time to clean up your lines and add those final touches. Make it shine! Use an eraser to lighten areas if needed, and a sharper pencil for fine details.
Remember, practice makes perfect. Don’t get discouraged if your first attempts don’t look exactly like you imagined. Keep at it!
Tips for Improving Basketball Drawing
Practice makes perfect, but these tips will give you a head start:
Focus on Proportions
A wonky ball is like an underinflated basketball – it just doesn’t work. Use guidelines to keep your proportions accurate. Try this trick: draw a cross through your initial circle to help you place the seams evenly.
Practice Shading
Light and shadow are your teammates in making your drawing look 3D. Experiment with different shading techniques for realism. Try cross-hatching, stippling, and smooth gradients to see which works best for you.
Experiment with Different Tools
Try different pencils, papers, even digital tools. Find what works for you! Each tool can give a different effect. For example, charcoal can create bold, dramatic shadows, while colored pencils can add vibrant energy to your drawings.
Adding Realism With Shading and Details
Let’s take your drawing from the minor leagues to the NBA. Realism in basketball illustrations comes down to two main factors:
Shape and Texture
Basketballs have a distinct pebbled texture. Nailing this will make your drawing look pro. Try using a stippling technique (lots of tiny dots) to suggest this texture. For an extra challenge, try to show how the texture changes in areas of highlight and shadow.
Shading and Coloring
Whether you’re working in graphite or color, getting the shading right is key to a realistic ball. Remember, the ball isn’t just orange – it has highlights, shadows, and everything in between. Study real basketballs under different lighting conditions to understand how the colors and shades change.
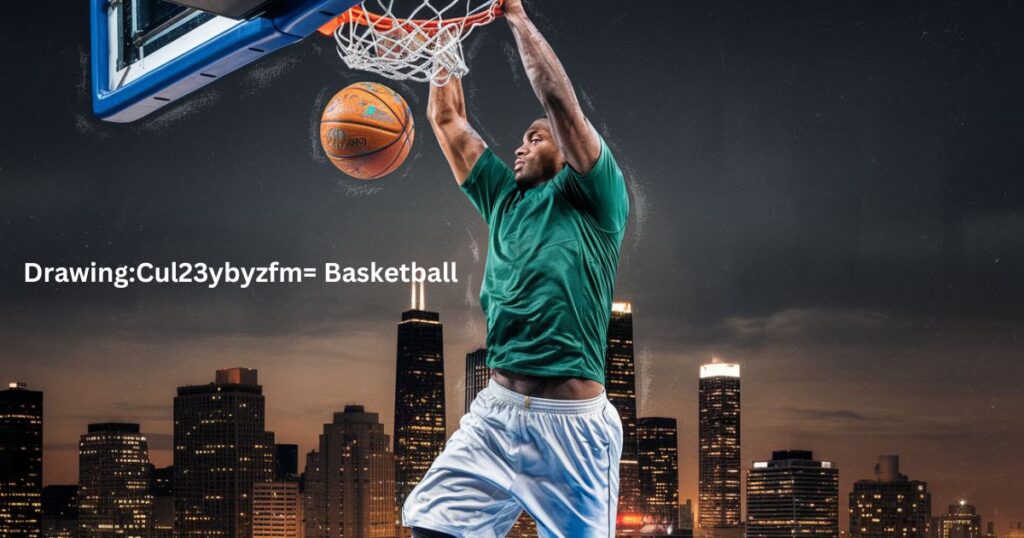
Tips for Capturing Movement and Action
Static balls are fine, but let’s get some action in there! Capturing movement in basketball art is all about suggesting motion rather than freezing it.
Drawing Player Movements
Capture the twist of a torso, the stretch of an arm reaching for the hoop. It’s all about suggesting motion. Use loose, flowing lines to indicate movement.
Try these techniques:
- Gesture drawing: Quick, loose sketches that capture the essence of movement
- Motion lines: Add lines behind a moving object to suggest speed
- Blurring: Slightly smudge parts of your drawing to indicate fast movement
Remember, the key to drawing movement is to capture the energy and direction of the action, not every little detail.
Inking and Coloring
Ready to commit? Let’s talk about making your drawing permanent.
Inking
Use a light touch and vary your line weight. Think of it as adding definition to your muscles. Thin lines for details, thicker lines for outlines and shadows. When inking, consider using different types of lines:
- Solid lines for clear edges
- Broken lines for softer edges or textures
- Tapered lines to add dynamism
Coloring
Whether you’re going for realistic or stylized, color can bring your drawing to life. Study real basketballs and players to get your colors right. Don’t forget about lighting – it can dramatically change the colors you see. Here’s a pro tip: use complementary colors (colors opposite each other on the color wheel) to make your drawing pop. For example, the orange of the basketball will stand out against a blue background.
Common Challenges and Solutions for Basketball Drawing
Even the pros face challenges. Here’s how to overcome them:
- Capturing Motion: Blur lines or use action lines to suggest movement. Study photographs of basketball players in action to understand how the body moves.
- Over Shading: Remember, less is often more. Don’t turn your basketball into a black hole! Leave some areas lighter to create contrast.
- Heavy-Handed Drawing: Lighten up! Start with gentle lines and build up gradually. You can always add more, but it’s harder to take away.
- Ignoring the Sphere: Always remember you’re drawing a 3D object, not a flat circle. Keep the curvature in mind, especially when drawing the seams.
- Forgetting the Valve: It’s a small detail, but it makes a big difference. The valve adds authenticity to your basketball drawing.
- Inconsistent Lighting: Decide where your light source is coming from and stick to it throughout your drawing. This will ensure your shadows and highlights make sense.
Expanding Your Skills in Basketball Drawing
Ready to level up? Try these challenges:
Draw the Entire Court
Put your ball in context. Can you nail the perspective of a full court? This is a great exercise in perspective drawing. Start with the basic lines of the court, then add details like the three-point line, free-throw lane, and center circle.
Experiment with Different Angles
Top-down view, anyone? How about from the hoop’s perspective? Unusual angles can make your artwork stand out. Try drawing a ball mid-dunk, seen from below the hoop, or a bird’s-eye view of a player dribbling down the court.
Try Digital Drawing
A whole new ball game! Experiment with layers and digital brushes. Many artists find that digital tools offer new possibilities for creating vibrant sports team tributes. You can easily experiment with different color schemes, add textures, or even animate your drawings.
Inspiration for Basketball-Themed Artwork
Let’s get those creative juices flowing! Here are some ideas to inspire your basketball-themed drawings:
Background Ideas
From gritty street courts to gleaming stadiums, the setting can make your drawing pop. Consider:
- Urban streetball scenes with graffiti-covered walls
- Packed stadiums with cheering fans, capturing the excitement of a big game
- Empty courts with dramatic lighting, emphasizing the solitude of practice
- Abstract backgrounds that suggest movement and energy using bold colors and dynamic shapes
Don’t be afraid to get creative with your backgrounds. They can add context, mood, and story to your basketball drawings.
Practice to Get Better
Rome wasn’t built in a day, and neither was LeBron James’ jump shot. Consistent practice is key to improving your basketball-themed drawings.
Practice Exercises
Try drawing a ball every day for a week. See how you improve! Here are some exercises to try:
- 30-Second Sketches: Set a timer and try to capture the essence of a basketball or player in just 30 seconds. This helps you focus on the most important elements.
- Detail Studies: Spend time drawing just one part of a basketball or player, like the texture of the ball or the folds in a jersey. This will improve your ability to render details accurately.
- Action Poses: Watch basketball games or highlights and pause at exciting moments. Try to sketch these dynamic poses quickly. This will help you capture the energy of the game.
- Composition Practice: Experiment with different ways to arrange elements in your drawing. Try close-ups, wide shots, and everything in between.
Sketching Tips
Quick sketches can help you capture the essence of movement. Try 30-second gesture drawings of players in action. Don’t worry about details – focus on the energy and flow of the movement. These quick sketches can be great warm-ups before you start a more detailed drawing.
Also Read: Fortnite’s Visual Revolution: Decoding the AYWUNAUMJSQ Logo Mystery
Exploring Different Styles in Basketball Art
Basketball art isn’t just about photorealism. There’s a whole world of styles to explore:
Abstract Basketball Art
Abstract basketball art can capture the energy and emotion of the game in unique ways. Try breaking down the elements of basketball into shapes, colors, and lines. You could represent the movement of players with swirling lines, or the excitement of a game with explosive bursts of color.
Street Art and Basketball
Street art and basketball have a long history together. Explore bold colors, exaggerated proportions, and graphic elements inspired by urban art. Think about how you can incorporate elements like graffiti tags or stencil-like designs into your basketball drawings.
Manga and Anime Style
The dynamic nature of basketball makes it perfect for manga and anime-inspired art. Exaggerated expressions and speed lines can add excitement to your drawings. Study how manga artists draw sports scenes and try incorporating some of their techniques into your work.
Incorporating Cultural and Emotional Aspects
Basketball isn’t just a sport – it’s a cultural phenomenon. Your art can reflect this:
Cultural Aspects of Basketball Art
Consider how basketball influences and is influenced by culture. From streetball to the NBA, there are countless stories to tell through your art. You could draw inspiration from:
- The history of basketball and its cultural icons
- How basketball is played in different parts of the world
- The impact of basketball on fashion and music
Emotional Aspects of Basketball Art
Basketball is full of emotion – the thrill of victory, the agony of defeat, the tension of a close game. How can you capture these feelings in your drawings? Think about:
- Facial expressions of players and fans
- Body language that conveys emotion
- Use of color and composition to set the mood
Remember, great art often goes beyond just visual accuracy – it makes the viewer feel something.
Conclusion
Drawing:Cul23ybyzfm= basketball is more than just putting pencil to paper – it’s about capturing the spirit of the game. Whether you’re sketching a simple ball or creating complex scenes of action on the court, remember that practice and passion are your key players.
So grab your pencil, channel your inner Michael Jordan, and start creating some slam-dunk art. Who knows? Your next drawing might be a real game-changer! Keep practicing, keep experimenting, and most importantly, have fun with it. The world of basketball art is waiting for your unique perspective.
Remember, every great artist started somewhere. Your journey in basketball-themed drawings is just beginning. So keep bouncing those ideas around, and soon you’ll be scoring three-pointers in the art world!
Whether you’re drawing for fun, to improve your skills, or with dreams of becoming a sports illustrator, the key is to keep at it. Every sketch, every drawing, every experiment brings you one step closer to mastering the art of drawing:Cul23ybyzfm= basketball. So keep your pencils sharp, your eraser handy, and your eyes on the ball – your artistic slam dunk is just around the corner.